Chanterelle Mushroom Miso

Recipe by Luke Jefford
Luke has spent a lot of time exploring the world of homemade miso & koji. Buying books for our already overbrimming bookshelves and scouring the internet for others experiences. There’s one book in particular that really stood out. And that is Koji Alchemy by Rich Shih & Jeremy Umansky.
We don’t currently possess any more space for jars of ferments, or homemade incubation chambers for DIY Koji. Our journey for the meanwhile, has been one of a more impatient nature. Creating miso’s in a shorter time frame with less equipment.
We’re always discovering and experimenting with new ways to preserve our foraging finds so we can enjoy them well beyond their seasons. In an ultimate show of respect for nature and self, nothing goes to waste. Especially as we might not see them again for another year.
Until we eventually have the space to create our own Koji. We’ve opted to use pre-inoculated koji rice from Umami Chef. It’s a brilliant product, at a good price. They also have lots of lovely recipes on their website.
At the restaurant I currently work in, we add 20% salt to our miso’s. Ultimately, the more salt you add, the longer it’s going to take to ferment. So the best option for us at home is to make a ‘quick miso’ by adding in just 7% salt and leaving for 2 weeks to ferment at room temperature. This is enough time to develop a lovely complex sweet flavour. With the addition of some water, this recipe brings the final product down to 5.5% salt.
It’s not generally recommended to do a ‘wild ferment’ with wild mushrooms. By this, I mean that mushrooms can already hold bacteria and sugars. If left to ferment by themselves they can either turn to alcoholic ferments or worse, undesirable decompositional moulds. For this reason we choose to steam our Chanterelle to mitigate any chances of failure. Though if you decide to add raw mushroom, do so at your own risk :)
We’ve opted to use red lentils for this particular miso. For a few reasons.
a) They don’t need to be soaked overnight before cooking (lazy I know).
b) Once cooked they have a somewhat similar colour to chanterelles.
c) They easily form a paste without the need for a blender before fermenting.
But, in reality you could use any bean or pulse you wanted.
Equipment…
You don’t need lots of fancy equipment for making a miso in this way. Simply..
1 large glass jar
1 large saucepan
1 Food processor
1 Large mixing bowl
1 large freezer bag Ziploc style or another bag your confident won’t leak.
If you do have the space in your home. You could leave your miso for 6 months to really develop more umami flavour.
Ingredients
First Stage
120g Chanterelle (Cleaned Of Debris And Dirt)
190g Red Lentil (After Cooking Weight)
180g Koji Rice (Fresh or Dried)
34g Non-Iodized Fine Salt
A little more of the above salt for the surface.
Second Stage
150g Unchlorinated Water
5g Non-Iodized Fine Salt
Method
Step 1
Steam your whole chanterelles over boiling water. Make sure the mushrooms don’t touch the water directly as we don’t want to saturate them. Steam them for 5 minutes until they are nice and soft.
Step 2
Meanwhile cook your red lentils in water until they are incredibly soft. Then pass these through a sieve. The remaining lentil pulp is what you want for your ferment. We cooked double the weight of what is suggested in the recipe above to ensure we had enough left over for our miso project.
Step 3
Mix your mushrooms and lentils together and leave to cool. It’s important to make sure these are below 30c to make sure you don’t kill your koji. Best to exercise some patience here and leave until the mixture is at room temperature throughout.
Step 4
Mix in your rice koji to your lentil and mushroom mixture using gloves if possible. Extremely clean hands would also suffice. Don’t use perfumed of antibacterial products for cleaning your hands, for obvious reasons.
Step 5
Add in the 34g of salt and mix well.
Step 6
Using your hands press the mixture into little balls. This will help to ensure the air is not going to enter your ferment.
Step 7
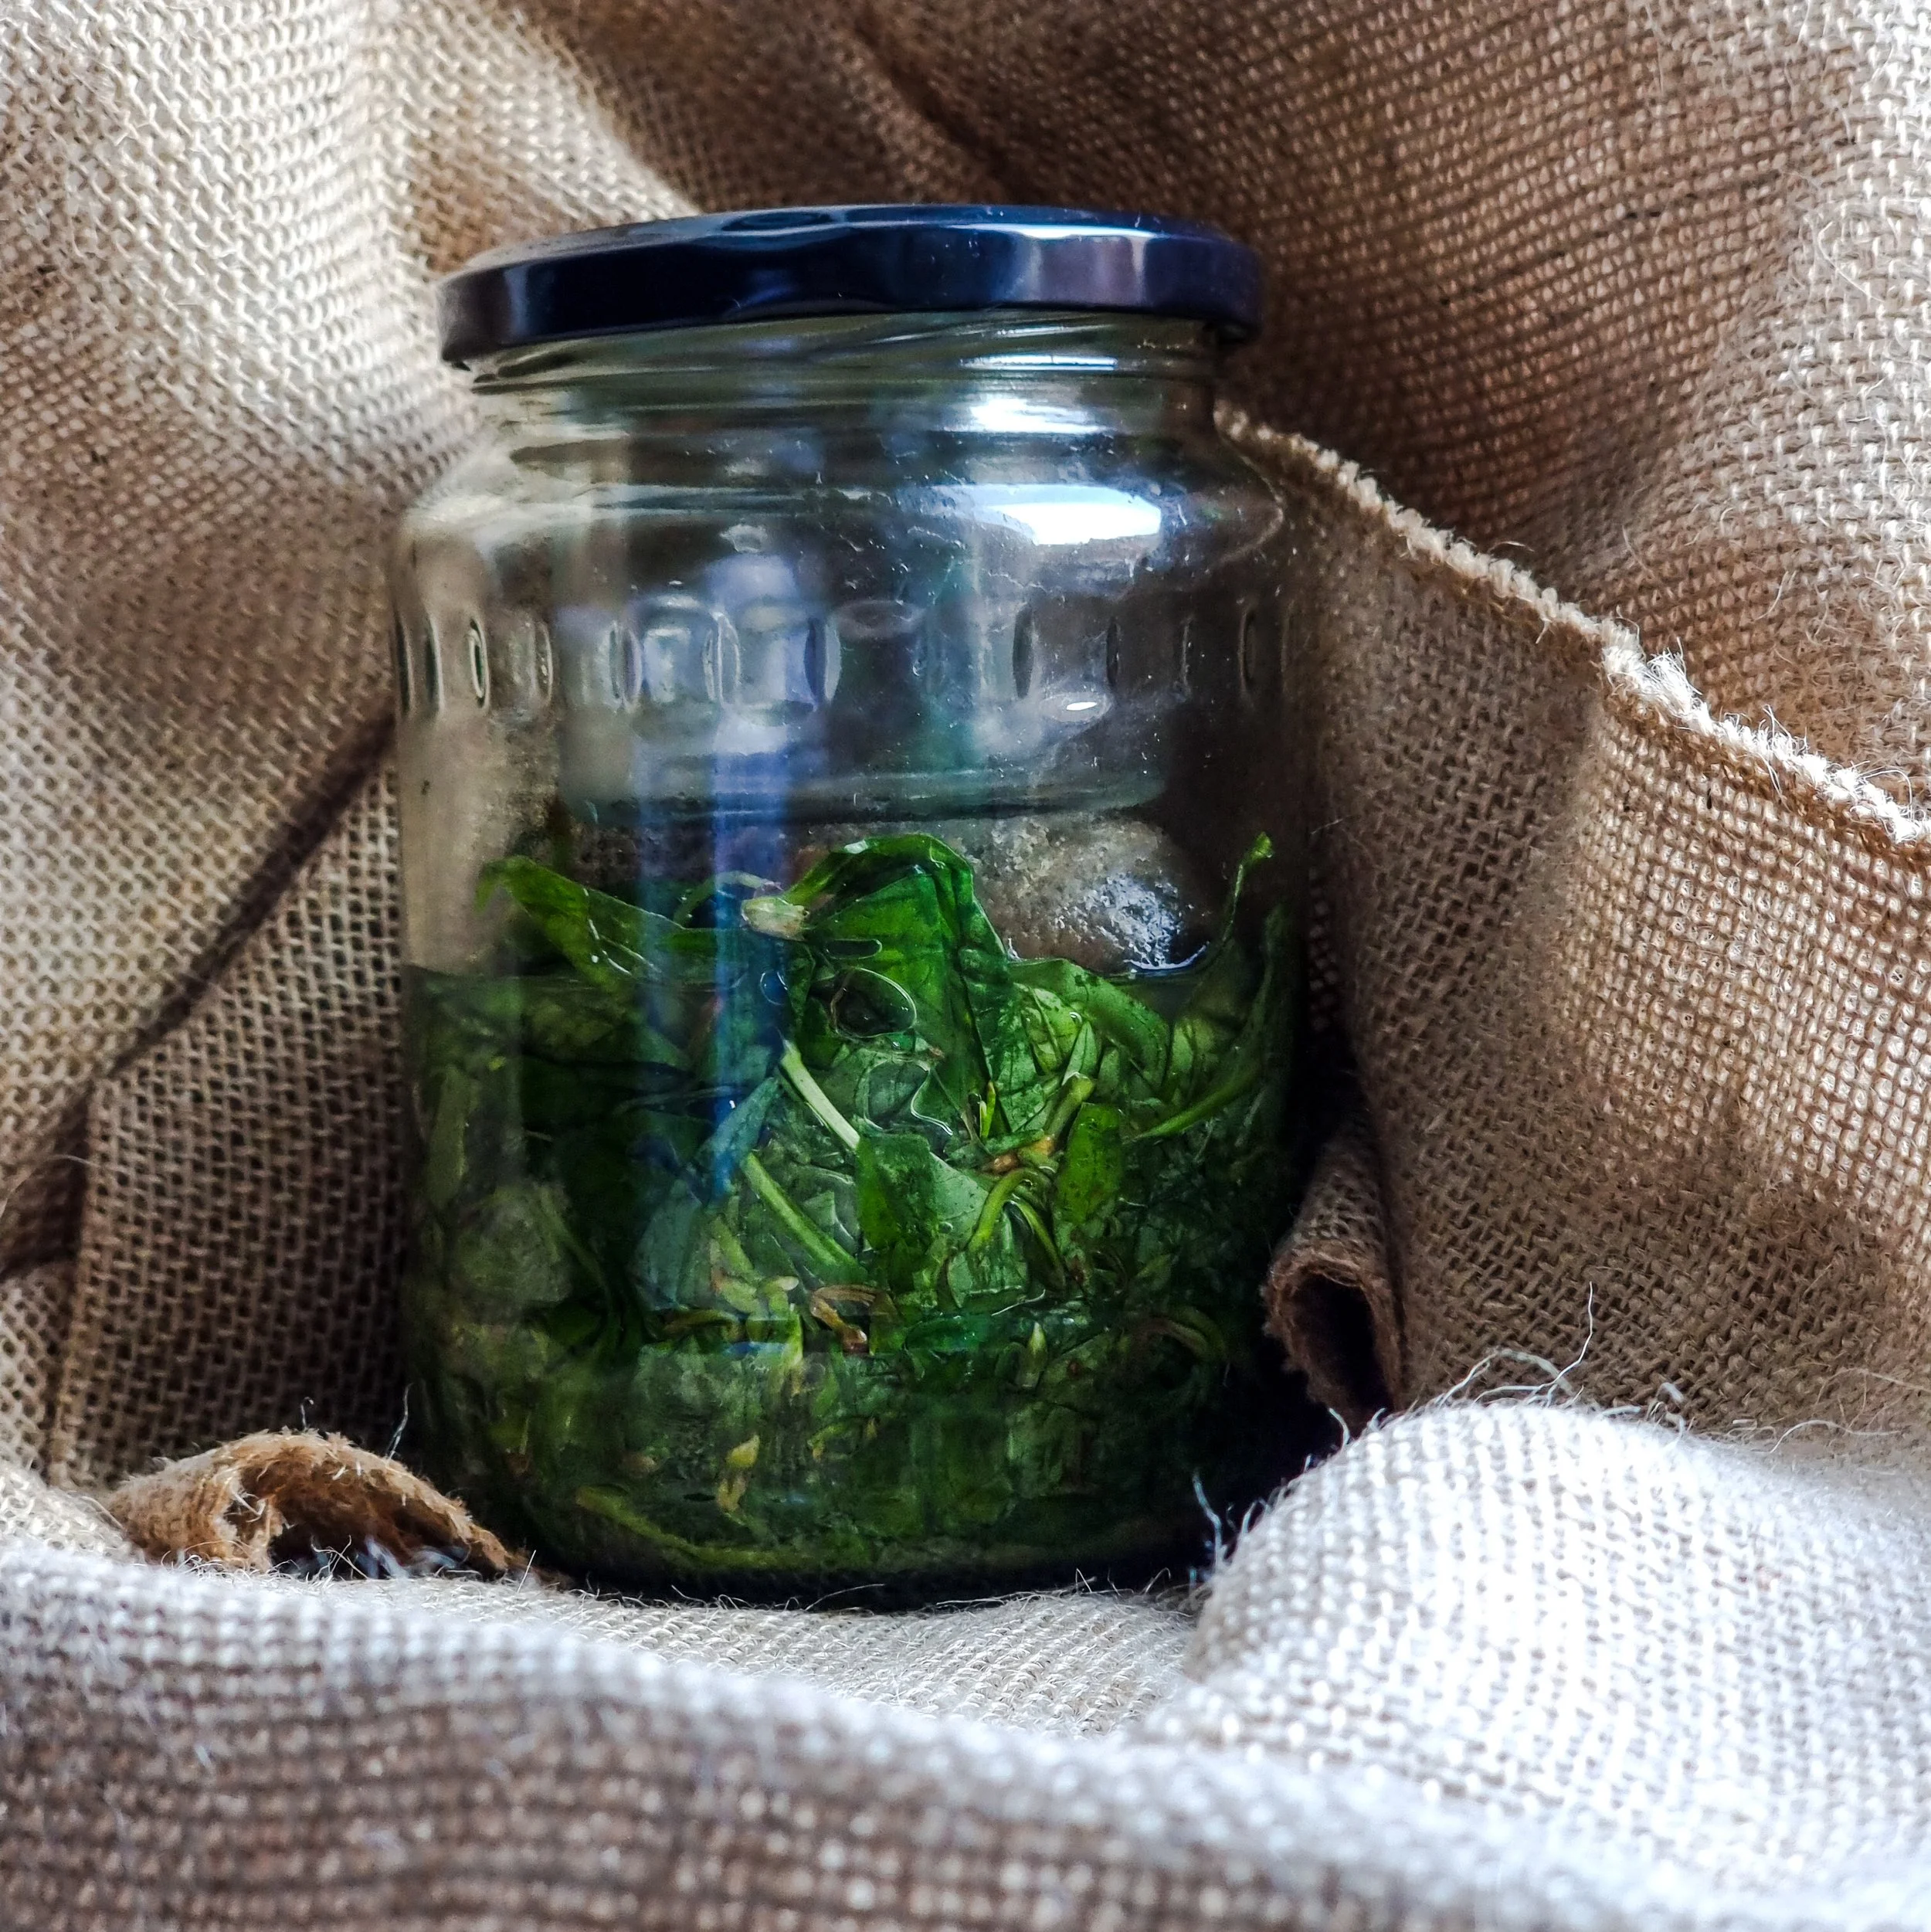
Press the balls, one by one, in to your sterilised glass jar of choice. Press each one down ensuring that no air is present in the mixture. No pockets of air ensure that no aerobic bacteria are present. You could use a sterilised pestle for this task.
Step 8
Once you’re happy that your mixture is pressed down in to your glass with as much force as possible. Even out the surface of your mixture to be as flat as possible. Sprinkle some salt to cover the surface of your ferment. This wants to be minimal but also ensure that the surface is covered.
Step 9
Fill a ziplock bag or another pliable bag you’re confident won’t split with either water or salt. And press this down on top of your ferment mixture. Poke it down on the sides to ensure that their are no air pockets. If you are using water, be careful that your bag is strong enough, as a spillage could lead to a failed ferment.
Step 10
Leave for 14 days at room temperature making sure to check in every day. Observe your glass jar and bag weight to make sure it is still sealed somewhat anaerobically (no air).
Step 11
After 14 days take your miso and pop it in the blender along with 150g of unchlorinated water and 5g of salt to form a nice paste.
Step 12
We prefer to vacuum seal our miso’s and pop in the freezer for a later date. But, you could also pop them in the fridge for use.
EAch ‘quick’ Miso we’ve made, we follow a different processes. this method of golden chanterelle sweet miso, produced a lovely sweet and slightly salty ferment that will be a great addition to many of our home cooking recipes.